TPU-coated fabrics: Easy to weld with heat and pressure
Thermoplastic polyurethane (TPU) gives fabrics exceptional properties—they can be welded into robust, water- and airtight bonds simply by heating and pressing.
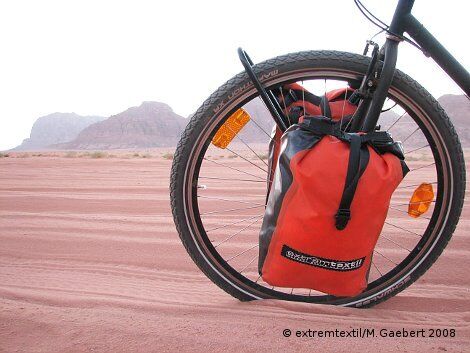
Fabrics coated with TPU (thermoplastic polyurethane) can be welded relatively easily using heat and pressure. Ideally, the bond is airtight, waterproof, and extremely durable.
The best bond is achieved by high-frequency welding, as the heat is generated by friction directly on the surface of the coating. As this can only be done with a special machine, this technique is not suitable for domestic use. An alternative is to weld with an iron. Here are a few tips for processing:
- Any reasonably handy iron is suitable. Since the pressure is mainly applied after ironing, it does not need to be particularly strong. The smaller the iron, the easier it is to handle. A Teflon coating prevents any melted TPU from sticking to the ironing surface.
- Placing baking paper underneath prevents the coating from sticking to the iron and the surface.
- Paper packing tape is suitable for pre-fixing the "seams." You can usually iron over the packing tape. However, please test this beforehand!!!
- Iron setting 2-3, iron for approx. 10-15 seconds with pressure.
- The joint should cool under pressure. A metal block is suitable for pressing due to its additional cooling effect. Alternatively, a heavy pressure roller can be used.
- The fabric should only be ironed at the joint. For example, a wooden bar the width of the seam can be placed underneath.
- Seam width approx. 1-2 cm
- The material only sticks when coating is applied to coating.
- If the coating no longer adheres optimally to the fabric after ironing (when the seam is torn, the seam does not come apart, but the coating comes away from the fabric), either the iron was used for too long and/or at too high a temperature, or the joint was not allowed to cool under pressure.
- Bubbles in the seam connection occur if ironing was done for too long or if the pressure was too low during cooling.
Of course, these are general guidelines that can be optimized through trial and error. Before starting your actual "ironing project," I recommend testing extensively to determine the temperature, ironing time, and pressure that will yield the best results. And if you have any further insights, I would be happy to hear any comments or tips.
.jpg?quality=90)
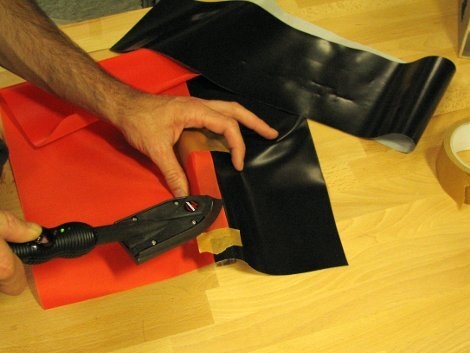
Step 1
Paper packing tape is suitable for pre-fixing the “seams.” The packing tape can usually be ironed over easily. However, please test this beforehand!!!
Step 2
Iron setting 2-3, iron for approx. 10-15 seconds with pressure. The fabric should only be ironed at the joint. To do this, you can place a wooden bar the width of the seam underneath. Seam width approx. 1-2 cm. The material only sticks when coating is on coating.
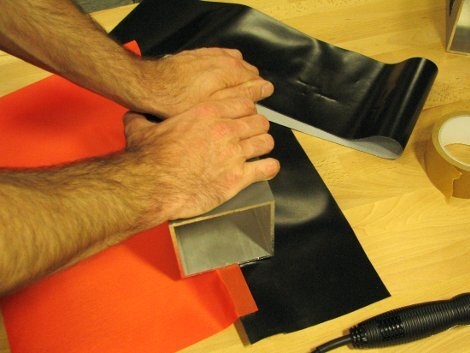
Step 3
The connection should cool down under pressure. A metal block is suitable for pressing on due to its additional cooling effect. Alternatively, a heavy pressure roller can be used.


