Sealing seams
Step-by-step instructions for sealing seams with iron-on seam tape for waterproof outdoor projects. Learn how to make your homemade projects waterproof for the long term with the right tools and the correct technique.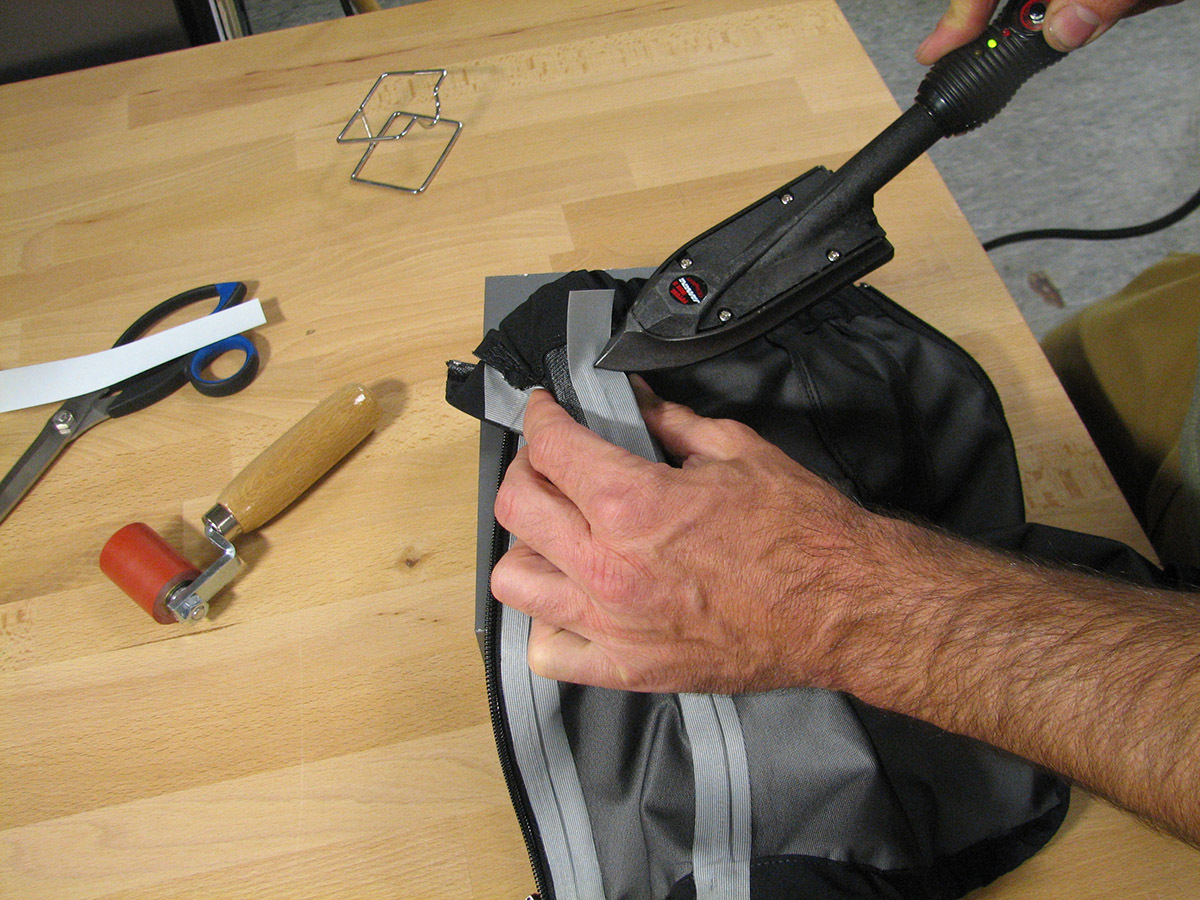
To ensure that a seam is truly waterproof, it must be sealed after sewing. There are various options, one of which (in addition to sealing with Seamgrip, for example) is sealing with iron-on seam tape. These are tapes that are coated on one side with a plastic that liquefies when heated, bonds with the fabric or coating, and forms a strong bond when cooled. The seam is thus permanently sealed. The tape is ironed onto the finished seam from the inside. A foil iron from model making or a travel iron is ideal, as these are handy and make the work easier to see. Sometimes it makes sense to iron the tape onto the sewn individual parts bit by bit. Otherwise, it can be very tricky to do in some places afterwards. Here's how it works:
Step 1
The seam should be wide enough so that the seam tape protrudes at least 5 mm on each side. For easier processing, it is best if the seam allowance lies flat on the inside of the fabric with a topstitch.
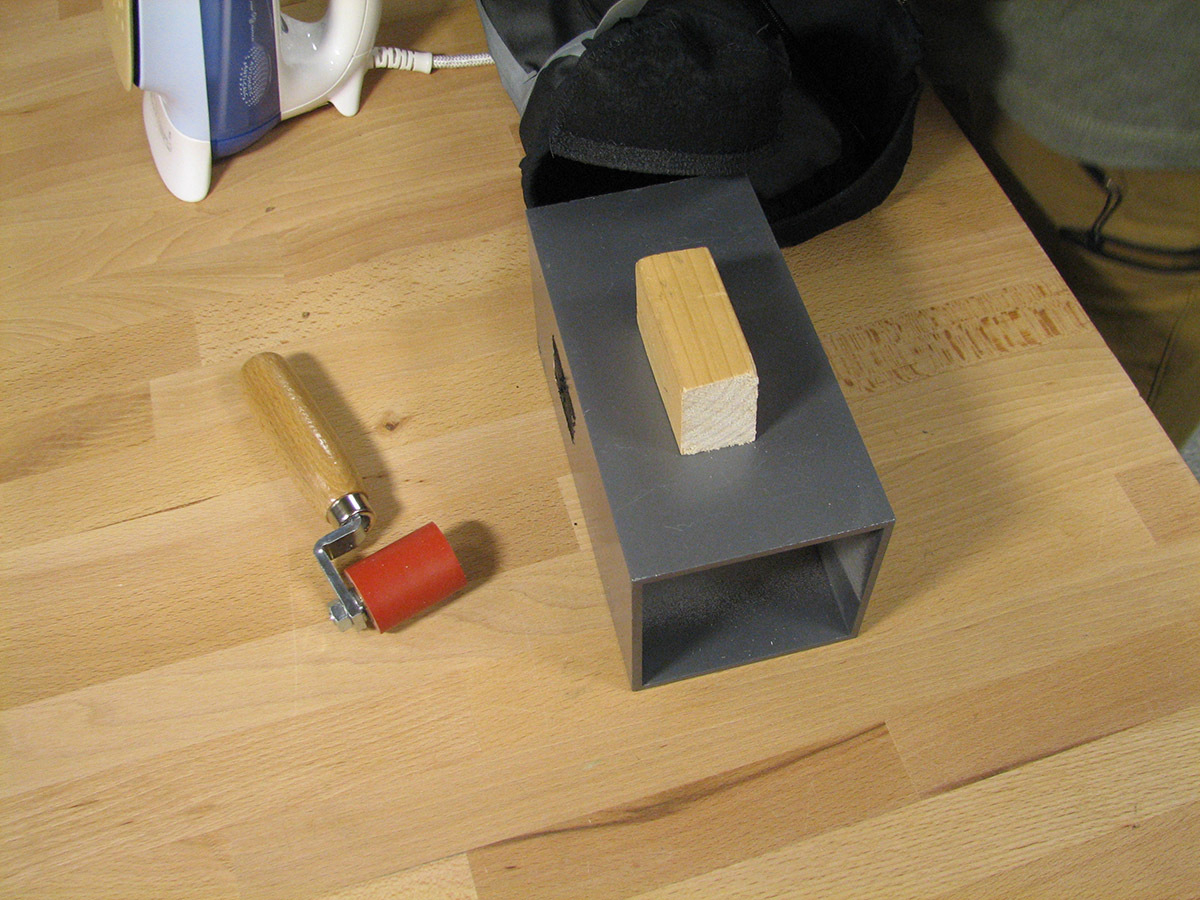
Cut the seam tape to the desired length. To make it easier to work with, it is useful to place a wooden bar or similar object the width of the seam tape under the seam while ironing. This allows you to tension the fabric slightly with the seam and iron it only on the width of the tape.
Step 2
Iron the tape onto the seam to a length of approx. 10 cm at the specified temperature and for the specified duration. It is not necessary to apply too much pressure at this stage. For 3-layer tapes, it is best if the adhesive protrudes slightly at the edges of the tape.

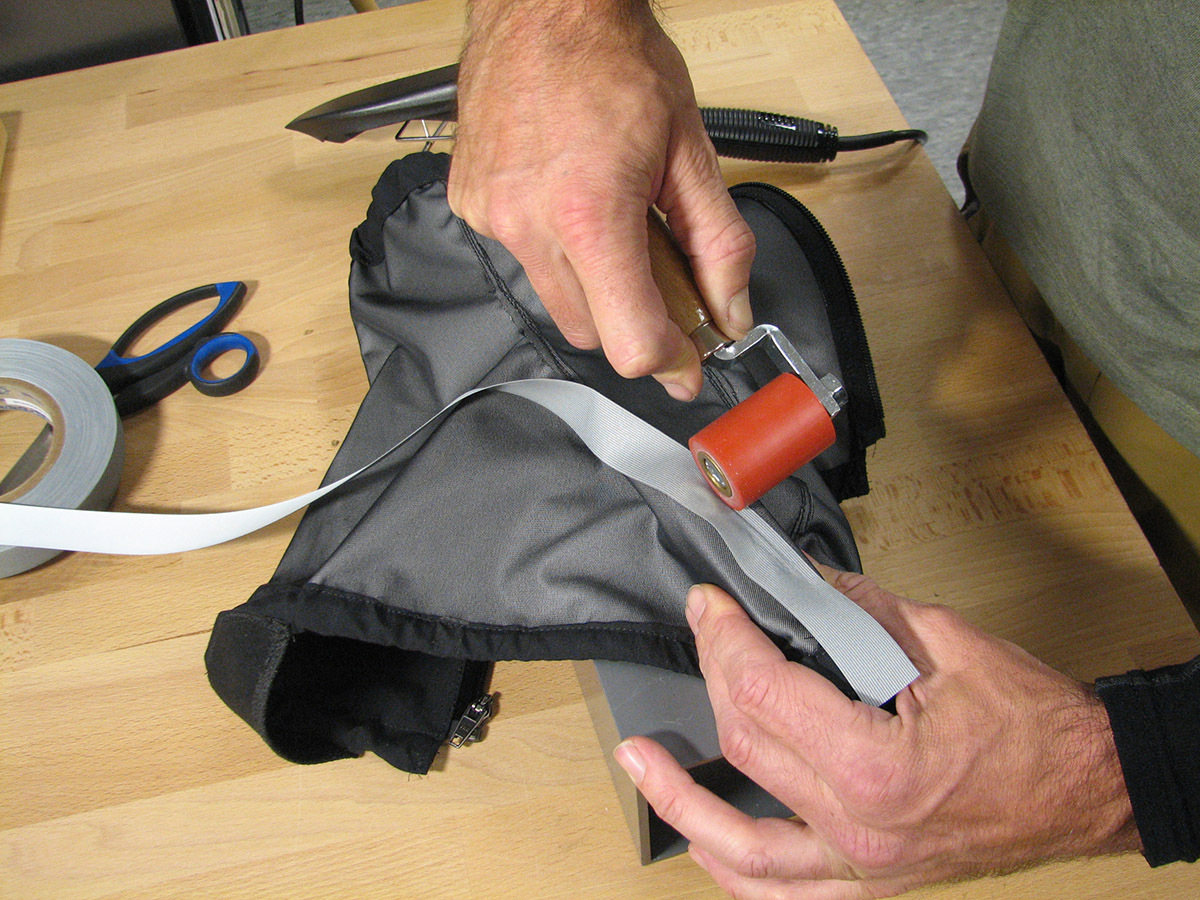
Step 3
After ironing, press the tape firmly with a plastic roller (wallpaper roller or similar, but any other firm object will also work) while the tape is still warm and the adhesive is still liquid. This will ensure that the adhesive bonds well with the fabric.
Step 4
Now it's time for the next 10 cm.
Once the connection has cooled completely, check again to make sure that the tape is sticking in all places. If not, it can be ironed on again in those places.


